
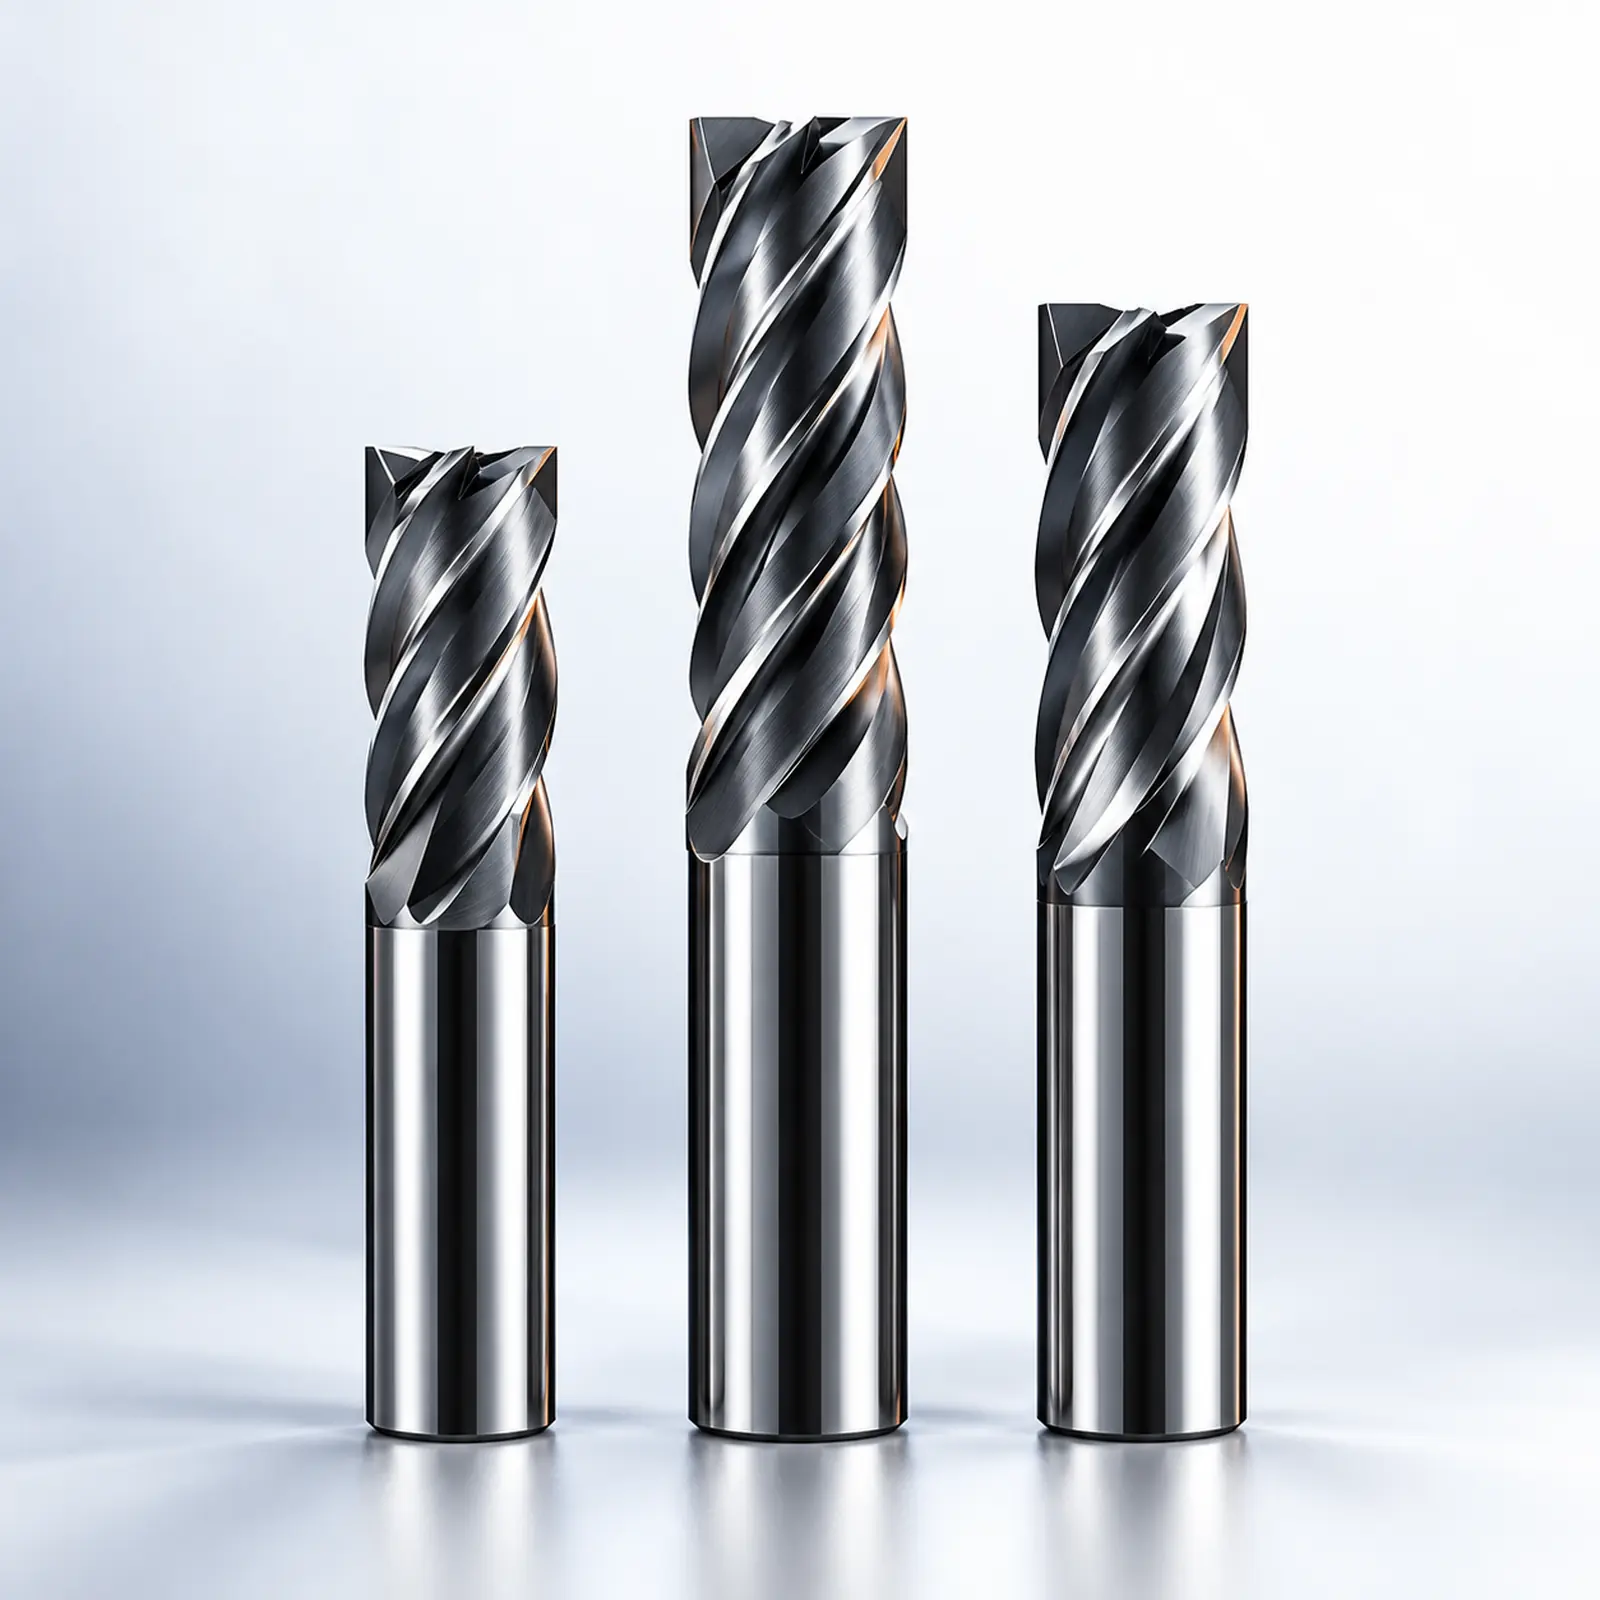
Start with the workpiece, operation and setup before comparing tool geometries.
Define the material and operation
Record the material grade, hardness and whether you are slotting, profiling or finishing. A tool selected for one operation may need different geometry for another.
Check access and reach
Confirm the required cutting diameter, flute length and overall reach against the part drawing. Keep the tool projection as short as the application allows while maintaining clearance.
Compare geometry and chip space
Consider flute count, corner form and the space available for chip evacuation. Evaluate the intended engagement and coolant method together with the tool supplier’s application guidance.
End mill types: compare the cutting profile
| Type | Selection question | Catalog starting point |
|---|---|---|
| Square or flat end | Does the feature require a flat floor or shoulder? | General-purpose 4-flute family |
| Ball nose | Does the drawing include a curved or contoured surface? | Ball nose families |
| Corner radius | Is a defined corner radius required? | Corner-radius family |
| Roughing | Is stock removal the current operation before finishing? | Roughing family |
The profile is one selection variable. Check dimensions, material suitability and permitted operation for the actual catalog item. For plunging, explicitly verify centre-cutting capability; do not infer it from a generic end mill name.
Choose flute count for the operation
Use the 2 flute vs 4 flute comparison to consider chip space, engagement and feed per tooth, including the role of 3-flute aluminum tools. Then calculate with tool-specific data in the speeds and feeds calculator.
Prepare a useful inquiry
Send the material, drawing, operation, machine interface, required dimensions and quantity. Include any existing tool reference and the issue you want to improve.
Discuss your application
Contact CutNexo with your tooling requirements, or browse our product families.